Are you looking to give your computer a performance boost without the hassle of a complete rebuild? A CPU upgrade without rebuilding your entire PC is not only possible, but it can also be an effective way to improve your system’s functionality and extend its lifespan. Many users often hesitate to replace PC components due to fears of complexity, but this process can actually be quite straightforward.
In this guide, you’ll learn that easy upgrades, such as replacing your CPU, can significantly enhance your experience, whether for gaming or workplace tasks. Plus, with tools like EaseUS Todo Backup at your disposal, you can transition to new hardware seamlessly, even allowing you to upgrade your motherboard and CPU without the need for reinstalling Windows 10.
Don’t let misconceptions deter you! Addressing performance issues or simply accommodating faster components can be accomplished with confidence. Let’s explore how to make these hardware replacements successful and rewarding.
Understanding Your Computer’s Components
Before upgrading your CPU, it is essential to understand the relationship between your computer’s core components. The compatibility of your CPU with your motherboard plays a vital role in ensuring a successful upgrade. Taking the time to verify that your new CPU can seamlessly work with your existing motherboard can save you time, effort, and potential frustration.
Identifying CPU and Motherboard Compatibility
To ensure CPU compatibility, check if the processor aligns with your motherboard model. You can use system analysis tools like Speccy or visit the manufacturer’s website to review specifications. Understanding motherboard compatibility helps you avoid a situation where a new CPU cannot function with your system. Keep in mind that many motherboards have specific chipsets designed to work with designated sockets.
Knowing Socket Types and Chipsets
Socket types indicate the physical interface connection for the CPU on the motherboard. Common socket types include LGA (Land Grid Array), PGA (Pin Grid Array), and BGA (Ball Grid Array). Identifying which socket type your motherboard has is crucial for selecting an appropriate CPU. Chipsets also play a significant role in compatibility; they determine the features and performance capabilities of the motherboard, acting as the communication hub where various components interact.
| Socket Type | Description | Common Chipsets | Compatible CPUs |
|---|---|---|---|
| LGA 1151 | Used in many Intel CPUs | Z370, B360, H310 | Intel Core i3/i5/i7/i9 |
| PGA 1331 | Traditional socket with pins | AM4, A320, B450 | AMD Ryzen 3/5/7/9 |
| BGA 1364 | Integrated into the motherboard | Not applicable | Intel mobile CPUs |
Why Consider a CPU Upgrade
Upgrading your CPU can significantly transform your computer’s overall performance, particularly for demanding tasks. This enhancement is critical whether you are a gamer or rely on your PC for work. A performance boost not only enhances the responsiveness of your system but also enables the ability to run more resource-intensive applications concurrently.
Boost Performance for Gaming and Work
When you replace your existing CPU with a more powerful one, you can expect noticeable gaming and work improvements. A modern processor handles complex calculations more efficiently. This means you’ll experience fewer lags and smoother gameplay, even in high-stakes gaming scenarios. Additionally, tasks like video editing and graphic design, which demand intensive processing power, become less time-consuming, allowing for a more productive workflow.
Extend the Life of Your PC
One of the most significant advantages of a CPU upgrade is the ability to extend PC life. Rather than opting for a full system rebuild, upgrading your processor can prolong your device’s usability. For many users, investing in a new CPU often results in additional years of effective computer use, saving you from an expensive new purchase and maximizing your current setup.
Cost-Effective vs. Building a New System
If you’re pondering between a cost-effective upgrade and building an entirely new system, consider the financial and performance implications. Upgrading your CPU typically offers a better return on investment. Many users find that a new processor can yield performance gains that rival those of a new PC at a fraction of the cost. While a new custom-build may provide the latest technology, many existing systems can be significantly enhanced without the hefty price tag, making a CPU upgrade a smart choice.
Preparation Steps Before the Upgrade
Prior to diving into a CPU upgrade, taking the right preparation steps can make the process smoother and reduce the risk of unfortunate mishaps. A structured approach to your workspace and data preservation plays a crucial role in a successful upgrade.
Gather Your Tools and Workspace
Creating a clean and organized workspace is essential for minimizing potential errors during the CPU upgrade. Ensure you have all the necessary tools for CPU installation within reach. The following items are a must:
- Screwdriver set
- Anti-static wrist straps
- Thermal paste
- Plastic tweezers for delicate components
- Microfiber cloth for cleaning
Set up your workspace in a well-lit area where you can focus. Use an anti-static mat to prevent damage to components from electrostatic discharge. Organizing your tools will help save time and keep the process efficient.
Backup Important Data
Backing up important data is a non-negotiable preparation step before upgrading your CPU. This action prevents potential data loss should any unexpected issues arise during the installation. Consider using reliable software tools like EaseUS Todo Backup, which allows you to restore your operating system to different hardware platforms without needing a complete reinstallation. Additionally, editing the Windows registry can also facilitate a smoother upgrade without the hassles of installing a new operating system.
Ensure that you back up not only your files but also your software and settings to avoid disruptions in your work or entertainment routines. With these strategic preparation steps, you can enhance your chances of a successful CPU upgrade.
How to Execute a CPU Upgrade Without Rebuilding
Executing a CPU upgrade can seem daunting, but with the right approach, you can accomplish it smoothly. This section will guide you through essential CPU installation steps, ensuring you have a seamless experience as you remove the old CPU and install a new one. Remember, taking your time and paying close attention at every stage is key to success.
Removing the Old CPU
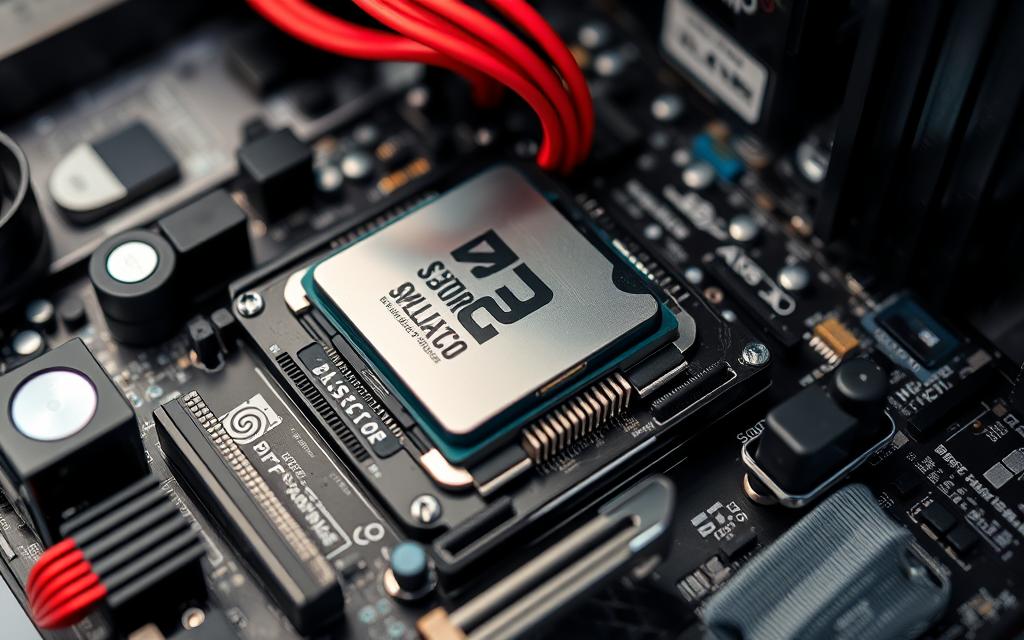
To start the process, you’ll want to ensure that you are grounded to prevent static discharge. Begin by turning off your PC and unplugging it. Carefully open your case, and if your CPU has a locking mechanism, unlock it, then gently lift the old CPU out of its socket. Be cautious during this step to avoid damaging any surrounding components. Take a moment to clean the CPU socket and remember to safely store the old unit, as it may come in handy in the future.
Installing the New CPU
Next, it’s time to install the new CPU. Align the notches on the CPU with the corresponding parts of the socket to avoid any misalignment issues. Once in place, press it down gently until you hear a click, securing it tightly. This is often the trickiest part, but with a little patience, you’ll find it easier than you expected. Following the installation, it’s crucial to reattach the heatsink and cooling system properly.
Reattaching the Heatsink and Cooling System
To ensure optimal performance and prevent overheating, apply a thin layer of thermal paste to the top of the new CPU before placing the heatsink back on. This paste enhances heat transfer and is critical for maintaining your system’s cooling efficiency. Once the heatsink is securely fastened, connect your cooling fans. Finally, close your case and reconnect your PC to power it back on, ready to enjoy the enhanced capabilities of your upgraded CPU.


